About Leila

This author has not yet filled in any details.
So far Leila has created 77 blog entries.

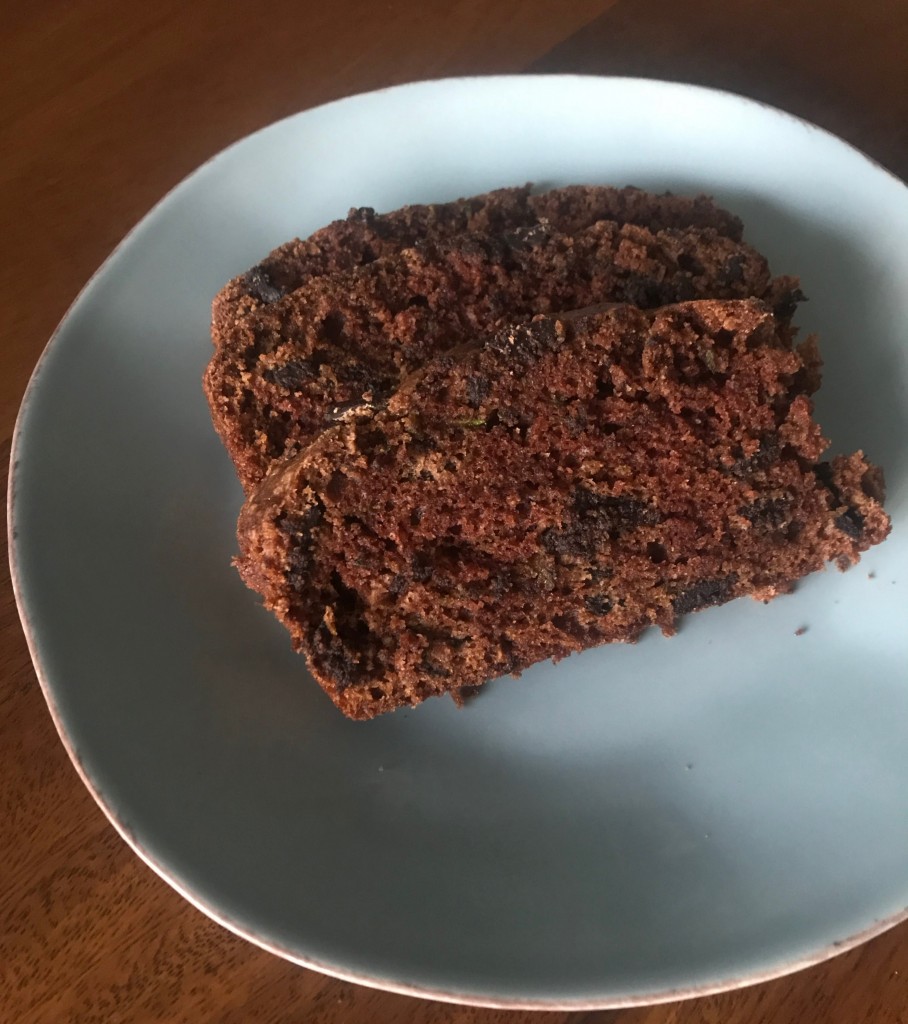
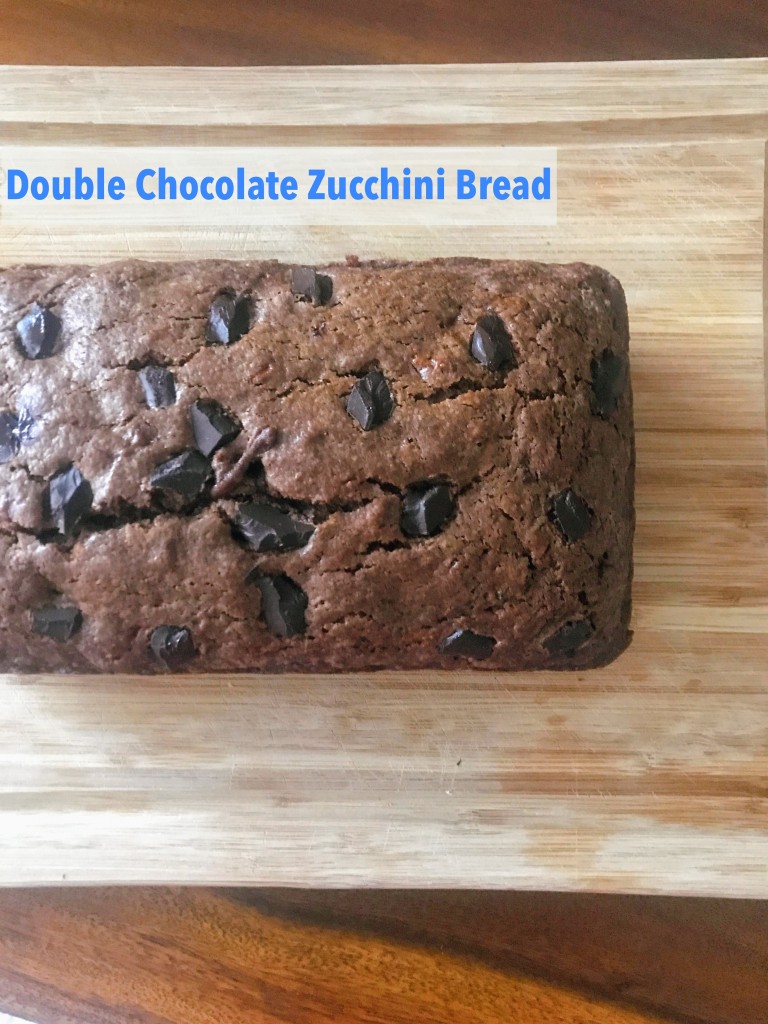
Recipe File: Double Chocolate Zucchini Bread

At first I didn’t know how to feel about a zucchini bread, but this recipe really got me. With the combination of dark chocolate and grated zucchini, you get a perfectly moist and chocolate-y loaf of bread that’s great as dessert or a simple breakfast.

This is also a fairly simple loaf of bread that comes together quickly and easily. Try it for yourself and enjoy!

Double Chocolate Zucchini Bread

Double Chocolate Zucchini Bread: 

Servings: 1 loaf

What you need: 

  • 1 loaf pan
  • 1 cup of grated zucchini
  • 1/2 cup avocado oil (Chosen Foods 100% Avocado Oil is my #1)
  • 1 egg
  • 1 1/4 cup flour
  • 1/4 cup almond milk (love an almond milk like Simply that just has almonds! You can also use regular milk or oat milk for this recipe).
  • 1/2 teaspoon vanilla
  • 3/4 cup sugar
  • 2 tablespoons cocoa powder
  • 1/4 teaspoon baking powder
  • 1/2 teaspoon baking soda
  • 1/2 teaspoon salt
  • 3/4 cup chocolate chips + a hand full of chocolate chips for sprinkling

Steps: 

  1. Pre-heat your oven to 350 degrees F.
  2. Butter your loaf pan.
  3. In a bowl, whisk together the oil and sugar until fluffy. Stir in the egg, almond milk and vanilla.
  4. Add in your dry ingredients: flour, salt, cocoa powder, baking soda and baking powder. Mix together until flour is just combined.
  5. Fold in the zucchini and chocolate chips.
  6. Place batter into your loaf plan and sprinkle a few more chocolate chips on top.
  7. Place into your pre-heated oven for about an hour. You can also check if the zucchini bread is done by inserting a knife or skewer in the middle and making sure it comes out clean.
  8. Let cool, then enjoy!

Double Chocolate Zucchini Bread

2021-12-22T14:58:57-08:00March 16th, 2018|Categories: Recipes|Tags: , , , |0 Comments

Recipe File: Cast Iron Buttermilk Cornbread

A great cornbread will never let you down — whether it’s for Thanksgiving or just as a weeknight treat.

This is one of my favorite cornbread recipes because it’s simple to whip together and you get a great crust from the cast iron pan. Try it for yourself and let me know what you think!

Cast Iron Buttermilk Cornbread

Cast Iron Buttermilk Cornbread

What you need: 

  • 1 8″ cast iron skillet (I love Lodge for cast irons!)
  • 2 eggs, room temperature
  • 1/2 cup butter, melted
  • 1/2 cup sugar
  • 1 cup buttermilk
  • 1/2 teaspoon baking soda
  • 1 cup flour
  • 1 cup cornmeal
  • 1/2 teaspoon salt
  • 3 tablespoons avocado oil

Steps: 

  1. Pre-heat your oven to 400 degrees F & coat your cast iron with avocado oil (any kind of vegetable oil will work) using a paper towel.
  2. Mix together the melted butter and sugar. Add in the egg and whisk together until fluffy.
  3. Whisk in the buttermilk and baking soda. Then add the cornmeal, flour and salt. Your batter will be slightly lumpy.
  4. Add in the batter into your cast iron skillet and bake for about 20 minutes or until a toothpick or knife come out clean from the center when inserted.
  5. Enjoy!
2021-12-22T14:59:42-08:00March 2nd, 2018|Categories: Recipes|Tags: , , |0 Comments

A Little Valentine’s Day Treat

Valentine’s Day: the holiday filled with pink and red heart candies that ladies either love-to-hate or absolutely love. Whether you’re a fan of the Hallmark holiday or not, it’s a good excuse to treat yourself to something nice because you deserve it.

Take the fun quiz below to find your valentine’s day bra personality and the bra made just for you. Then go ahead and treat yourself to something pretty you can wear underneath it all. Head over to ThirdLove and get 15% off your purchase with this special code all through February: BRABLEMSTL15FEB

Happy shopping and happy Valentine’s Day!

2018-02-16T20:24:43-08:00February 2nd, 2017|Categories: Fashion|Tags: , , |0 Comments

Recipe File: Fig Galette

I love seasonal fruit and flowers (peonies anyone?) so when I saw figs at Trader Joe’s last weekend, I instantly reached for them.

Stuck on deciding between the black Mission figs, Tiger figs and green figs… I chose the green figs to try something different. Green Kadota figs are a little less sweet than their cousins but reach the perfect level of sweetness when paired with mascarpone and honey.

In addition to snacking on fresh figs with some prosciutto and thinking about the several things I could do with them (fig jam, roasted figs and honey, bacon or prosciutto wrapped figs…), I settled down and decided to make the easiest of desserts – a galette.

Recipe File: Fig Galette | Chicisms

Recipe File: Fig Galette | Chicisms

Recipe File: Fig Galette | Chicisms

What you’ll need:

  • Pie dough (I cheated and used store-bought pie dough I already had in the freezer)
  • 1 pound of fresh figs
  • 1 teaspoon honey
  • 1 teaspoon water
  • Cane sugar to sprinkle on top

Directions: 

  1. Prepare your pie dough, whether you’re making it yourself and grabbing a pre-made one.
  2. Wash your figs and cut them lengthwise in 1/4-inch thick slices.
  3. In a small bowl, stir together honey and water (you can warm up the honey beforehand in the microwave so it’s easier to blend).
  4. Preheat the oven to 375 degrees. On a baking sheet, roll out your pie dough into a circle. Top with figs in concentric circles, leaving about an inch and a half border. Fold dough edges over the figs.
  5. Brush the figs and dough with the honey and water mixture. Sprinkle cane sugar on top.
  6. Place in the oven and bake for about 35 minutes or until the crust is golden brown and the fig juices begin to bubble.
  7. Let cool for about 15 minutes. Enjoy warm or at room temperature!
2017-04-17T15:28:18-07:00August 9th, 2015|Categories: Recipes|Tags: , , , |2 Comments

Recipe File: Mini Cherry Tarts

Summer hasn’t been kicked off until the first cherries are in season. While the bright and shiny fruits make for an easy summer snack to simply eat out of a bowl, don’t be afraid to incorporate them into your favorite recipe.

Here’s a cherry-filled summer dessert to get started with: mini cherry tarts.


Recipe File: Cherry Tarts

Recipe File: Cherry Tarts

Recipe File: Cherry Tarts

What you’ll need:

  • 1 pie crust (store bought or homemade)

For the filling…

  • 1 pound (3 cups) cherries, halved and pitted
  • 1/3 cup sugar (P.S. these are the cutest measuring cups).
  • 1 tablespoon cornstarch
  • 1 tablespoon lemon juice

For the crust:

  • Egg wash
  • 1/2 tablespoon Cane sugar or Turbinado sugar

Directions:

  1. Preheat the oven to 375 degrees F.
  2. For mini cherry tarts, separate your dough into 5 sections. Roll out into circles on a floured surface. (If you decide to make one large cherry tart, simply roll out your dough into a large circle and continue with the below instructions.
  3. In a large bowl, combine halved and pitted cherries with sugar, cornstarch and lemon juice.
  4. Transfer your circles of dough onto a greased baking sheet.
  5. Spoon your filling into the center of each circle, leaving about an inch and a half on the edge. (If you’re a crust-lover, leave about 2 inches of dough around the edge). Fold up the edges so your filling feels loved and is snug.
  6. Brush the edges with egg wash and sprinkle with sugar.
  7. Bake for an hour, or until the filling is bubbly and the crust is golden brown. Let cool then enjoy!
2017-04-17T15:28:18-07:00June 7th, 2015|Categories: Recipes|Tags: , , |0 Comments
Go to Top