

During the summer, there’s nothing I enjoy more than laying outside, taking in the summer rays. But this summer, thanks to my most-visited website: Pinterest, I’ve been inspired to be a little crafty and make something useful. Because what’s more chic than creating something both beautiful and useful that costs less than the actual thing? (Okay, maybe a lot of things, but let’s just run with this and call it “crafty chic”).
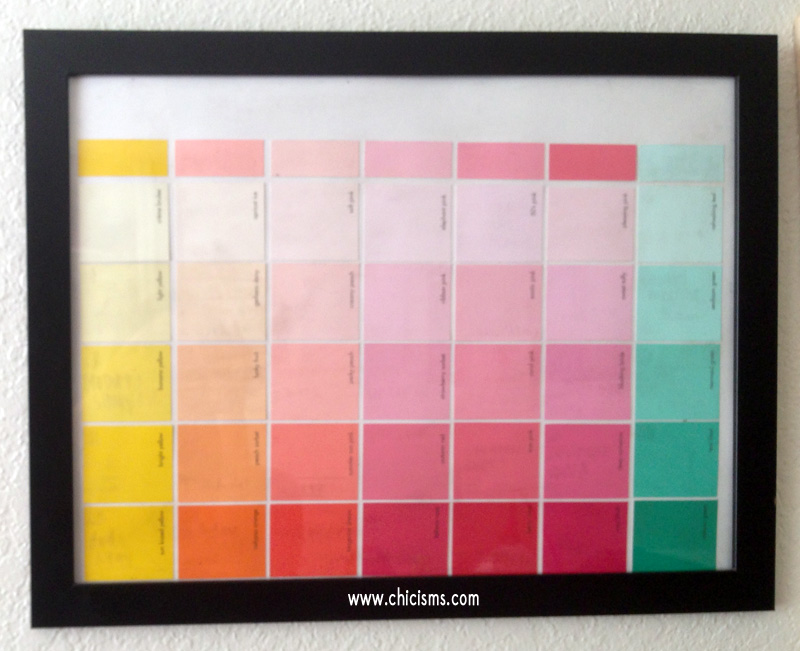
Here is something that is customizable, reusable, and can cost under $5: a paint sample calendar.

What You’ll Need:
- A Frame (I used a 14 x 18 frame, like this one from Amazon. Feel free to go bigger and shop more frames on Amazon below).
- Paint Samples in colors of your choosing (free from your nearest paint or hardware store.)
- Poster Board for the background (or a simple sheet of paper) – I chose white
- Glue
- Straight Edge, ruler and a pencil if you’re a perfectionist like me
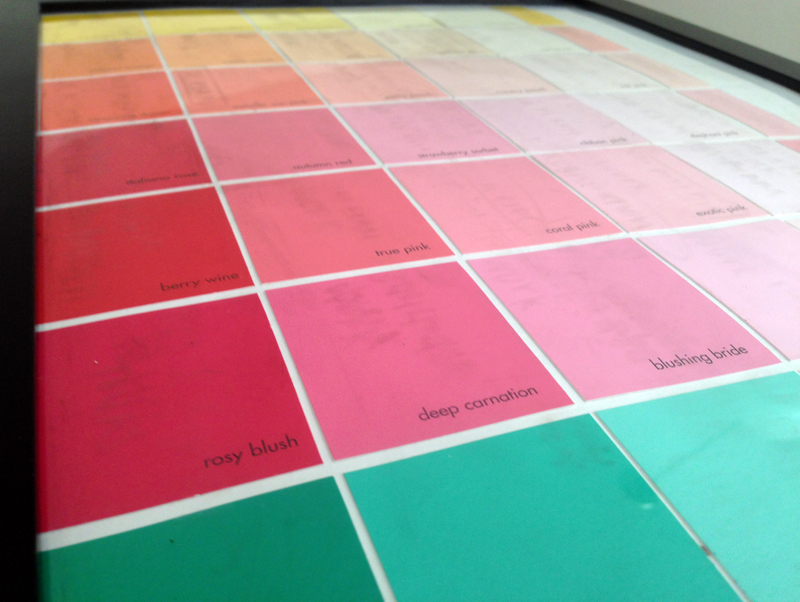
- Take your chosen paint sample colors and trim them to the size you want. Keep in mind you’ll need 7 colors to comfortably fit from left to right and that the labels for the days of the week will be smaller than the calendar days. I chose to keep the paint sample names within my little squares because I thought it’d add a nice touch, but it’s totally up to you.
- Trim your poster board to the size of the frame and glue your paint samples to it, however you desire. I chose an ombre look for specific days of the week. A single color ombre or mixed colors look great too!
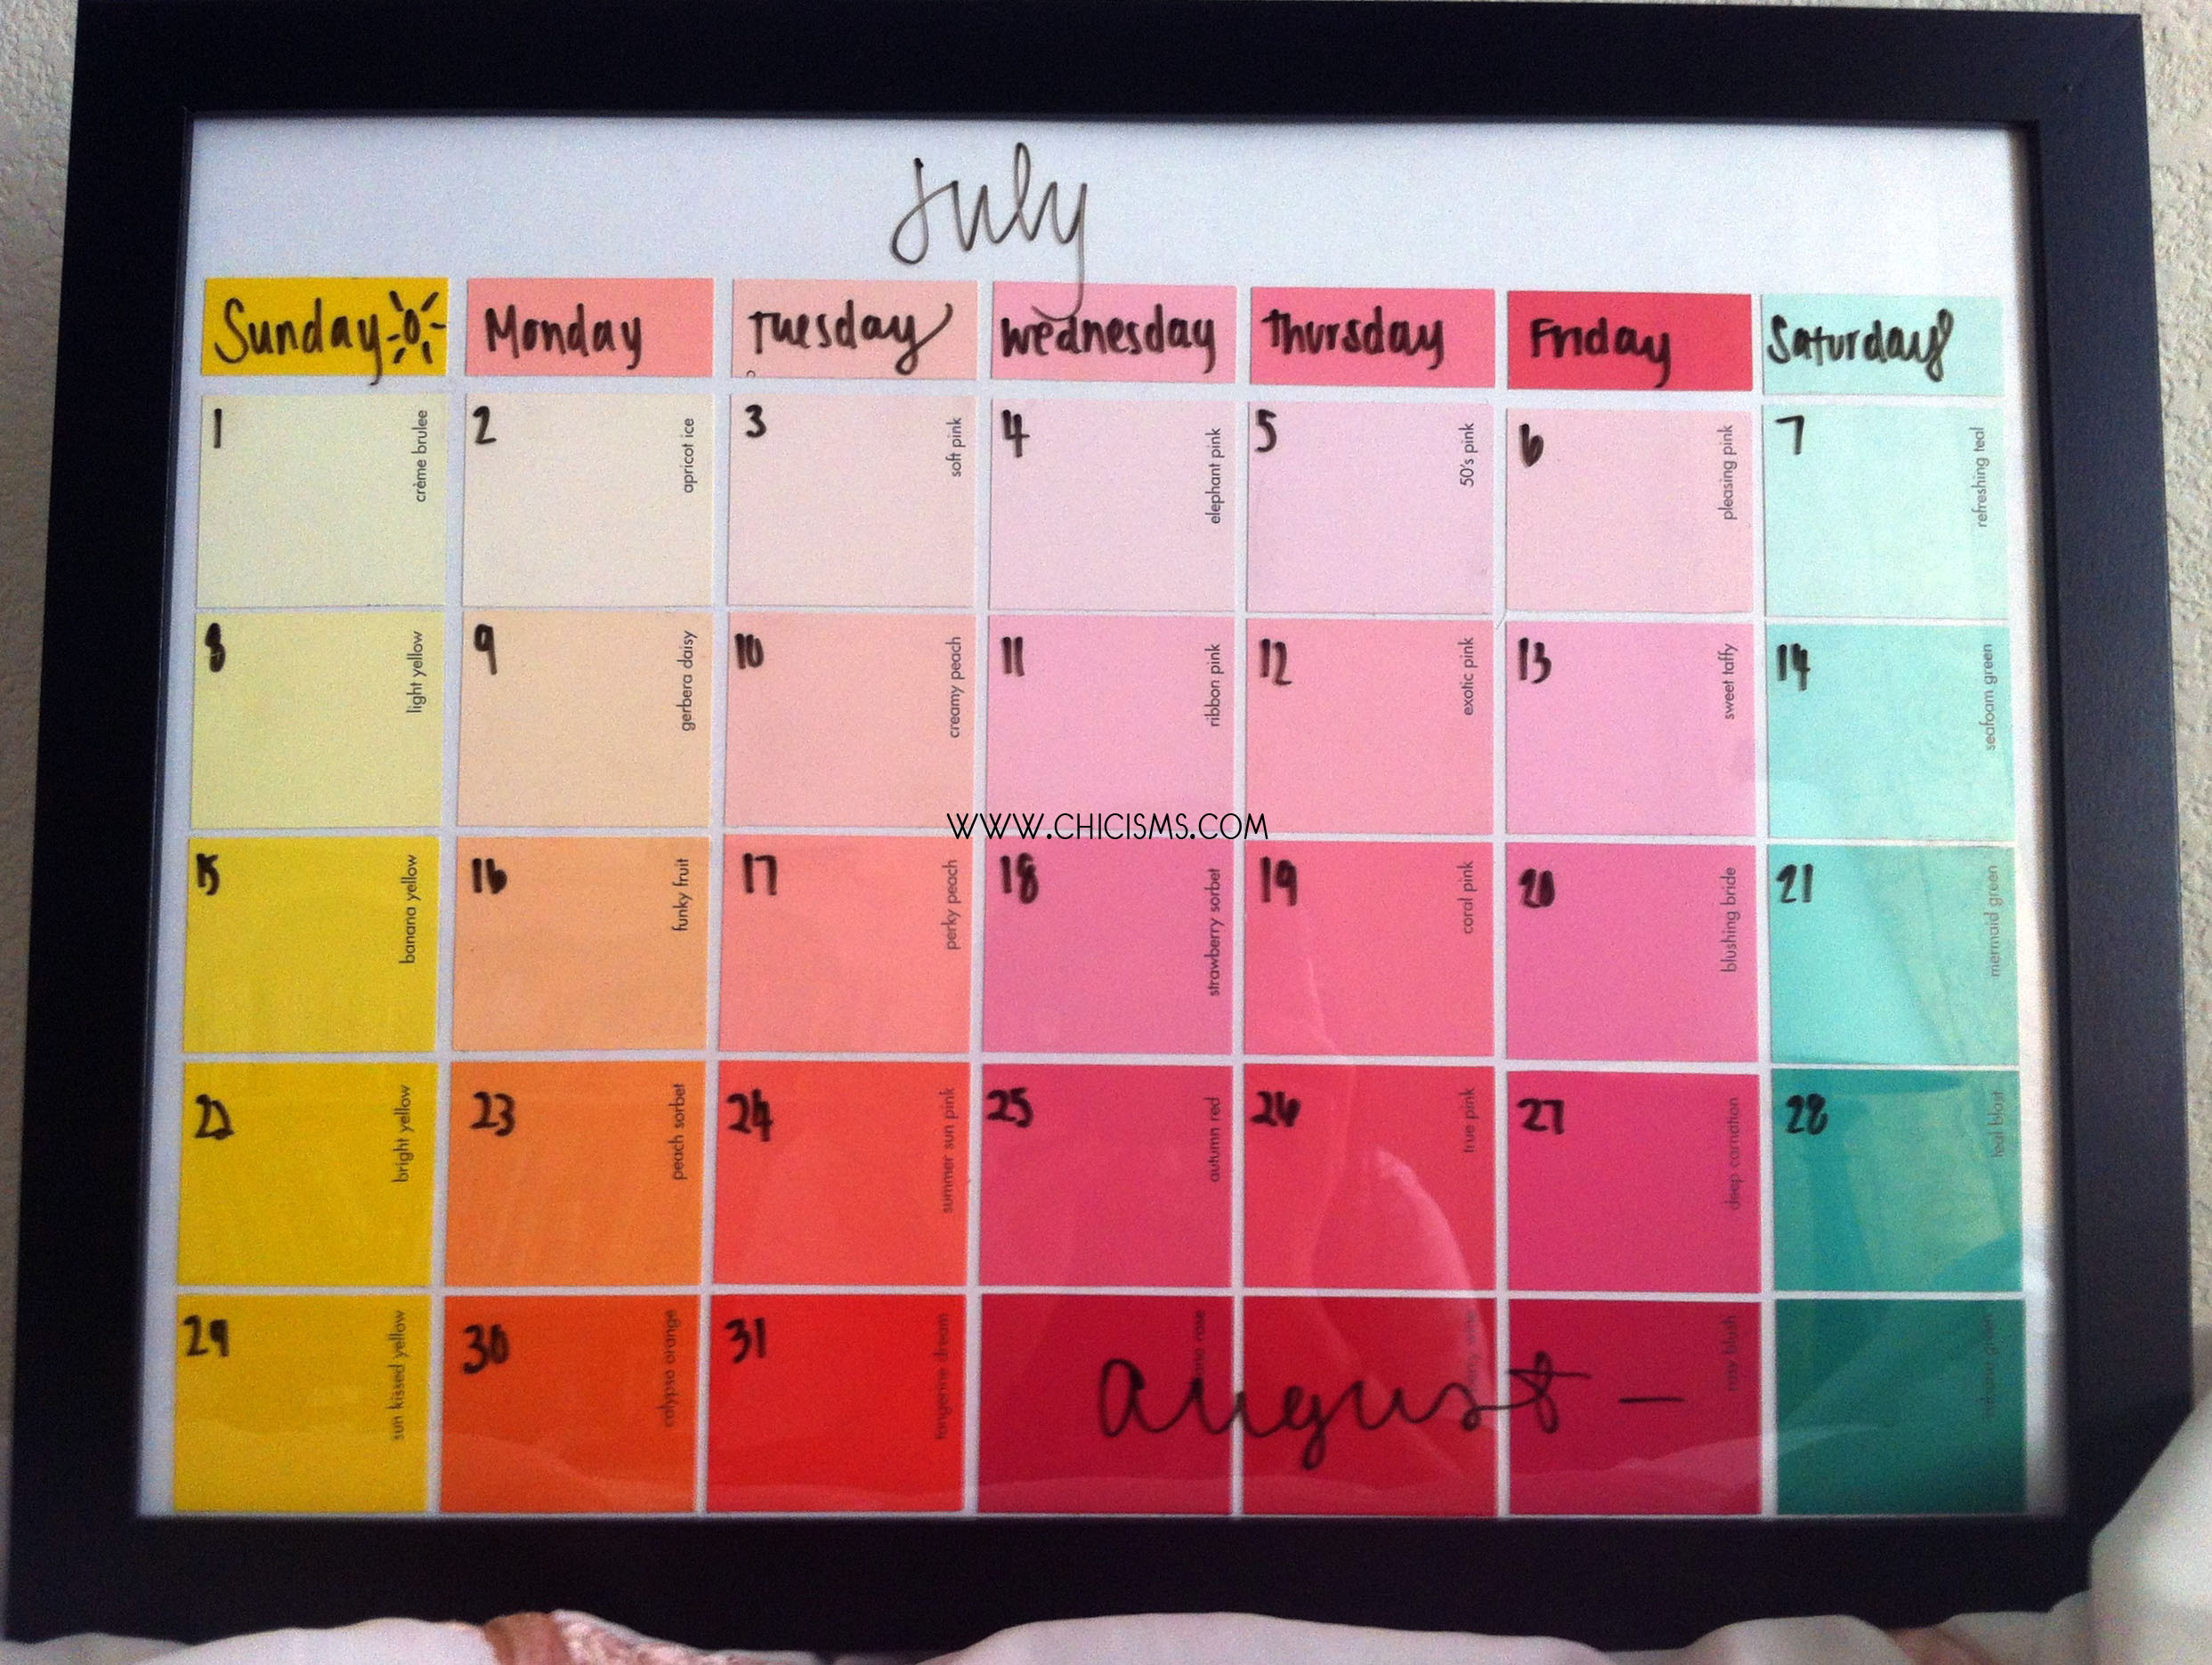
- Place your finished calendar inside the frame and use your dry erase marker to label the days and dates.
- Enjoy your fun (and one-of-a-kind) calendar!
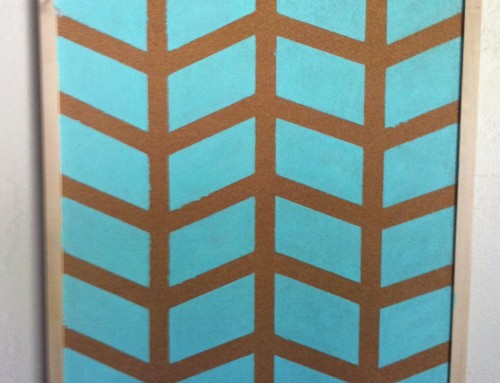
Spend more time crafting and revamp your bulletin board or make a gift bow with wrapping paper.
Happy crafting!

How funny! I seriously did this exact project about a month ago- I can’t believe how similar our posts are. Great minds think alike! I love the different colors you picked! too cute! xo
Thank you! I just took a look at your blog and it’s so cute – I love it! I also love your color choice for your calendar!
Have a great day!
absolutely love this! so clever and well put together…
[…] This is a customizable design and it’s easy and fun to make. The supplies required are a frame, paint samples in the colors of your choice, a poster board for the background and glue. Start by trimming the chosen colors to the size you want. The labels for the days of the week should preferably be smaller than the calendar days. Then trim the poster board to fit the frame. Next, glue the paint samples to the poster board place it inside the frame.{found on chicisms}. […]
[…] This is a customizable design and it’s easy and fun to make. The supplies required are a frame, paint samples in the colors of your choice, a poster board for the background and glue. Start by trimming the chosen colors to the size you want. The labels for the days of the week should preferably be smaller than the calendar days. Then trim the poster board to fit the frame. Next, glue the paint samples to the poster board place it inside the frame.{found on chicisms}. […]
Brilliant idea! I want to make this for my interior designer friend – great for her office!! :)
[…] 7. Color Strip Calendar. Love the idea of creating a calendar of my favorite colors that I can use year round. DIY found here! […]
holy crap, this is brilliant!!!! gorgeous, lovely, and creative (i wouldn’t have thought of this…)
Thanks so so much for doing this and sharing ! On my way to the store tomorrow after work :)
i bought my frame at ikea too but it seems that the frames glass has marks on it like shown in the first picture you posted.. i was wondering did you buy a seperate glass or something?
Hi Amanda! Those marks seen in the first picture of the frame is actually from the plastic that the frame was wrapped in. There shouldn’t be any actual marks on the glass of the frame itself.
Got this idea from you and made it my own… mine are bright rainbow colors… check it out…
Or if that doesnt work click on this….
http://pinterest.com/pin/15621929928609260/
thanks for the inspiration! I am taking this to a pinterest party I was invited to on Thursday!!! :)
I tried this out! Next time I’ll use a paper slicer (a-la elementary school teacher style) to get even little squares.
I decided to use metallic autumn colors ^-^
BRILLIANT! You have inspired me and made me feel like a dummy all at the same time!lol!! I’ve been looking for something ‘crafty’, yet simple for my boys to have a ‘chore board’ and THIS IS IT! Thanks so much for sharing! I can’t wait to get started AND….it just so happens that our local Walmart has picture frames on sale right now for $3!!! Now I know what tomorrow’s to-do list consists of!! 8-)
I LOVE this idea!
[…] to hang your schedule above your desk? Try this cute idea for a reusable calendar made with paint swatches! You can easily make a weekly version. Cute DYI […]
this is such a cute idea, but i must say, that i tried it with a frame from target, and my dry erase marks won’t rub off now. does it have to be glass, because i’m pretty sure mine isn’t? is there a remover trick that you recommend?
Hi Carrie! Try a little rubbing alcohol to erase the dry erase marks. Let me know if that works! Have a great day!
[…] CALENDARIO PERPETUO […]
I love this!
[…] photo and DIY via Chicisms […]
What size did you make your dates?
Hi Rachel! The sizes for my dates are 2 in by 1 3/4 in.
If I got the 16 x 20 frame, what size of the dates would be perfect ?
Hi Annalyn!
For the size frame I used (13.5 x 17.5) I cut my squares to 2 in x 1.75 in. Since your frame is bigger, 2.5 or 3 in x 2 in may be a good size. It really depends on how much space you want between each date square and how big you’d like the square to be. Try playing around with sizes and laying them out so you can see what you like better. Hope that was helpful! Have fun with the calendar!
xx, Leila
Thank you Leila! I’ll send a picture of the calendar when I’m done! :)
Can’t wait to see it!
[…] via […]
[…] the link: https://chicisms.com/crafty-chic-paint-sample-calendar/ Share this:TwitterFacebookLike this:LikeBe the first to like […]
[…] chip project out there. So naturally I had to stop and look at this one. Created by Leila at Chicisms, this perpetual calendar is colorful, bright and totally fun. Leila is a talented college student […]
This is so brilliant! I have a frame lying around that I don’t know what to do with… Definitely doing this.
where can i find a picture frame that is 13.5 x 17.5 besides at ikea ?
You could try Target, Wal-Mart, or your local craft store! You don’t absolutely need those specific dimensions; feel free to choose a little larger of a frame for larger space to write notes in! A large calendar frame would go great in the kitchen!
[…] ภาพจาก Chicisms […]
[…] in stile con il nostro modo di essere e la nostra abitazione. Io sono mesi che tengo da parte il progetto di un calendario da preparare in un attimo, semplice e riutilizzabile all’infinito! Se, invece, voleste […]
I love this idea! Heaven knows I have enough paint chips after trying to find the perfect color for our kitchen. I’m sharing your idea on FB & Pinterests ;-). Thanks for the tutorial.
[…] sin duda, el que más me ha gustado es este de Chicisms. Yo ya he comprado los materiales para hacerlo y espero tenerlo terminado pronto para empezar a […]
[…] Source […]
[…] on a Do-it-Yourself project with friends! Make a dry-erase calendar from paint samples, revamp your old bulletin board, or spend some time on Pinterest for more […]
[…] Photo Credit, Chicisms […]
[…] https://chicisms.com/crafty-chic-paint-sample-calendar/ […]
Hi! I think this is a great idea, but I’m confused. When you write with the dry erase markers, do you write on the glass? I saw above something about the marks being on the plastic? Also, on whichever surface you d write on, how easy is it to get off? And what do you use to get it off? Excuse me if I sound stupid
Hi Lexi! The frame that I used actually had plastic instead of glass, so I wrote on plastic. However, using dry erase marker on both plastic and glass is fine! It’s simple to remove marks from both plastic and glass, though glass may be a little bit easier. Usually I just use a slightly damp paper towel to clean the plastic. If it’s too difficult, I’ll use a little bit of rubbing alcohol. And no worries, you don’t sound stupid!
[…] (THIS is a really cool idea for a DIY dry-erase calendar!) […]
Love this idea, glad I came across it :-) Thanks!
Did you use a thick foam poster board or regular posterboard?
Hi Sarah! I used a regular poster board; it’ll work perfectly as you don’t want something too thick. Even a large sheet of paper will work great!
I love this craft and will be making one soon! Your color scheme is similar to what I would like to create and I’m wondering what a couple of the color swatches in the bottom row of the board are called (I can’t read the names): the rosy color fourth from the right (to the right of Tangerine Dream) and the teal/green color in the bottom right corner. Thanks!
Hi Lacey!
So glad you love the craft! It was fun to make and I hope you have a great time creating yours too! The fourth color from the right is called “Italiano Rose” and the green color in the bottom right corner is called “Cabana Green.” Hope that helped!
Thanks for the help, Leila! If I had a blog, I’d link the finished project.
my frame is 11 by 14 what should my paint chip sizes be
[…] games or dinner plans. Pick your colors, pick your frame and have fun. Original pin can be seen at https://chicisms.com/crafty-chic-paint-sample-calendar/ Follow me on pinterest at Stephanie […]
[…] saw this DIY a while ago, and I’ve been wanting to do it since forever. (Haha, I scrolled down to the […]
[…] I loved trying to stay organized with these they were always just too small for me. I always used a dry erase calender. To make one all you need is paint chips that you can get at any paint store, glue, and a […]
[…] This official tutorial used paint swatches, but make it yours like I did by switching up the colors or doing something else to make it unique to you! […]
[…] Paint Chip Calendar If you’ve set a deadline-driven goal like losing weight before that class reunion, brainstorm ways to consistently work towards it each week. Set a schedule and write out what you want to accomplish each day on this vibrant calendar that’s made of colorful paint chips! Photo: Leila / Chicisms […]
[…] and since every once in awhile I try to actually make something I’ve pinned, I jumped on this dry erase paint chip calendar to belatedly accomplish my January crafting […]
[…] (Source) […]
Great idea for a simple calendar … Colorful sticky notes look sweet :)
[…] Paint Chip Calender Tutorial […]
[…] Never miss a homework deadline or school function again with this crafty upcycled paint chip project. Get the directions for the Paint Chip Calendar from Chicisms […]
[…] Keep all of your schedules straight and organized with a DIY calendar! To get different hues and colors for each day, use paint sample strips. Via […]
[…] photo credit: chicisms […]
[…] for sale at the store. And so the Pinterest search began. The original post that I saw can be found here. Seriously, Pinterest is just fantastic for finding […]
[…] to make colorful calendar squares so you can easily keep track of all your appointments. Visit Chicisms to learn […]
[…] to make colorful calendar squares so you can easily keep track of all your appointments. Visit Chicisms to learn […]
[…] Check out the tutorial over on Chicisms! […]
[…] image via chicisms […]
[…] Para fazer esse calendário, é só colar quadradinhos coloridos em uma cartolina e colocá-la em uma moldura. Você pode reorganizar os dias todo mês, escrevendo com uma caneta própria para vidro. Veja aqui. […]
[…] This is a customizable design and it’s easy and fun to make. The supplies required are a frame, paint samples in the colors of your choice, a poster board for the background and glue. Start by trimming the chosen colors to the size you want. The labels for the days of the week should preferably be smaller than the calendar days. Then trim the poster board to fit the frame. Next, glue the paint samples to the poster board place it inside the frame.{found on chicisms}. […]
[…] chicisms […]
[…] chicisms […]
[…] Photo Credit, Chicisms […]
[…] photo credit: chicisms […]
[…] Paint Chip CalendarIf you’ve set a deadline-driven goal like losing weight before that class reunion, brainstorm ways to consistently work towards it each week. Set a schedule and write out what you want to accomplish each day on this vibrant calendar that’s made of colorful paint chips! Photo: Leila / Chicisms […]
[…] This is such a beautiful idea! Use paint samples to create this stunning and bright colored calendar. If you like this idea then follow this DIY project for further How to instructions. Source/Tutorial: chicisms […]