Crafty Chic: DIY Gift Bows
Wrapping a present is no big deal; how it’s decorated (bows, ribbon, writing), on the other hand, sometimes can make the present. Bows, especially, are attention grabbers and while you can always go out and buy a great bow, why not make one instead? When wrapping presents, there are always scraps that we end up throwing away, but you can use those to make bright, fun bows to add to your gift!
What you’ll need:
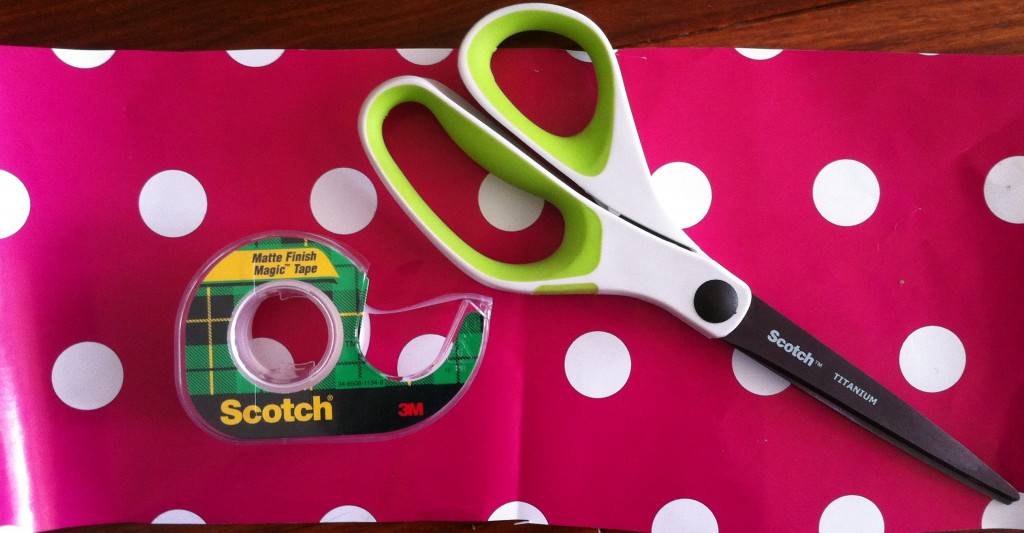
- Scraps of wrapping paper (I used reversible wrapping paper. You can find some here on Amazon, here at Target, and here at Vera Bradley.
- Scissors
- Tape
Steps:
1. Take your scrap of paper (ideally about 5 or 6 inches long) and fold it in half.
2. Make cuts up through the paper, stopping at about a 1/2 inch from the folded edge.
3. Then, open your strip of wrapping paper. Just as you would curl a string of ribbon with a pair of scissors, begin curling each strip with your scissors. Try not to pull too hard on each strip as you curl it so you don’t rip strips off, but don’t worry if you rip a few. The bow will still be pretty!
4. Fold your curled paper back in half to the way it was. Then fold it in half once more.
5. Repeat steps 1-4 with more scraps of wrapping paper about 4 or 5 times (and even more if you’d like!), depending on how big and bouncy you want your bow to be. Put all your curled pieces together, bottoms (folded edge) facing downwards, to help determine whether your bow is big and bouncy enough for you. If you’re not fully satisfied, keep adding more curls and scraps. If you are happy with it, move on to the next step.
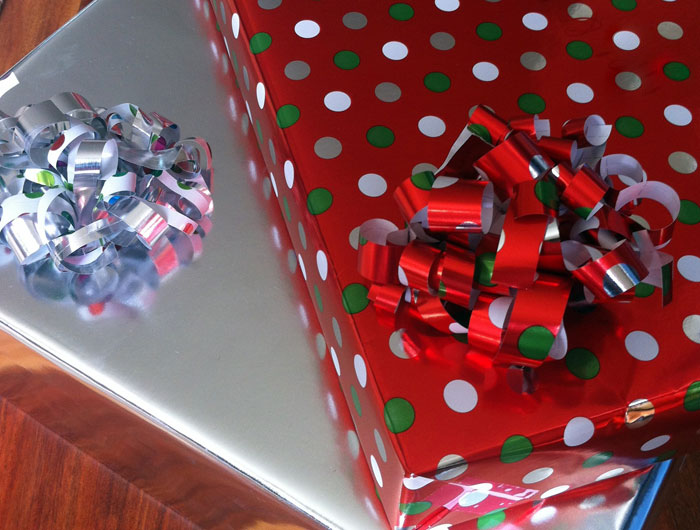
6. Arrange your curled pieces of wrapping paper scraps however you like to make sure it looks great when you put it together. When all the curled scraps come together as a bow, as they should, tape the bottoms together. Make sure that they’re securely taped so that you don’t get pieces of curls flying out! And there’s your bow!
7. Now that your bow is finished, tape it onto the gift and admire your handmade bow!


